Prerequisites
- A running Bytebase instance (Cloud or self-hosted)
- A GitHub or GitLab repository
- At least one database registered in a Bytebase project
Step 1 — Set Up Authentication
Your CI/CD pipeline needs to authenticate with the Bytebase API. We recommend Workload Identity — it uses short-lived OIDC tokens so there are no secrets to store or rotate. Follow the setup guide for your platform:Alternative: Service Account
Alternative: Service Account
If you use a VCS platform that doesn’t support Workload Identity (e.g., Azure DevOps, Bitbucket), you can use a Service Account instead. Create a service account in IAM & Admin > Users & Groups with the GitOps Service Agent role, then store the API key as a CI/CD secret in your platform.
Step 2 — Configure Runners
CI/CD workflows execute on runners — machines that run your pipeline jobs. The runner must have network access to your Bytebase instance. How to choose:- If your Bytebase instance is publicly accessible (Bytebase Cloud or a public URL), use the default cloud-hosted runners provided by your VCS platform. No setup needed.
- If your Bytebase instance is in a private network (VPN, internal network, firewall-restricted), you need a self-hosted runner deployed in the same network so it can reach Bytebase.
- GitHub
- GitLab
Cloud-hosted runners (default) — GitHub-hosted runners work out of the box when Bytebase is publicly accessible. Your workflows will use
runs-on: ubuntu-latest and GitHub manages the infrastructure.Self-hosted runners — If Bytebase is behind a firewall or in a private network, install a GitHub Actions runner on a machine that can reach your Bytebase instance:- In your GitHub repository, go to Settings > Actions > Runners > New self-hosted runner.
- Follow the instructions to download and configure the runner on your server.
- In your workflow files, change
runs-on: ubuntu-latesttoruns-on: self-hosted.
Step 3 — Generate Workflow Files
In Bytebase, go to your project and open the GitOps page. Follow the steps to select your VCS platform, target databases, and migration file pattern. Download the generated workflow files and place them in your repository:- GitHub
- GitLab
.github/workflows/sql-review.yml.github/workflows/release.yml
main branch.
Advanced: manual configuration
Advanced: manual configuration
If you prefer to write the workflow files by hand, refer to the example repositories for a working setup:
- GitHub: bytebase/example-gitops-github-flow
- GitLab: bytebase-sample/gitops-example
BYTEBASE_URL— Your Bytebase instance URLBYTEBASE_SERVICE_ACCOUNT— Service account or workload identity emailBYTEBASE_PROJECT— Project resource name (e.g.,projects/my-project)BYTEBASE_TARGETS— Comma-separated database resource names (e.g.,instances/test/databases/mydb,instances/prod/databases/mydb)FILE_PATTERN— Migration file glob pattern (e.g.,migrations/*.sql)
Step 4 — Run Your First Migration
With authentication, runners, and workflow files in place, you’re ready to run your first database migration through GitOps.Create a migration file
- Create a new branch in your repository.
-
Add a migration file under your migrations directory. The file name must start with a version number and may end with
_ddlor_dmlto indicate the change type (default is DDL):migrations/202503131500_create_table_t1_ddl.sqlFile naming convention
Migration files must start with a version number. Two common patterns:- Timestamp-based:
202503131500_create_table_t1_ddl.sql - Semver-based:
1.0.0_create_table_t1_ddl.sql
_ddl— Schema changes (CREATE, ALTER, DROP)_dml— Data changes (INSERT, UPDATE, DELETE)- No suffix — Defaults to DDL
- Timestamp-based:
-
Commit, push, and open a pull request (GitHub) or merge request (GitLab) against
main.
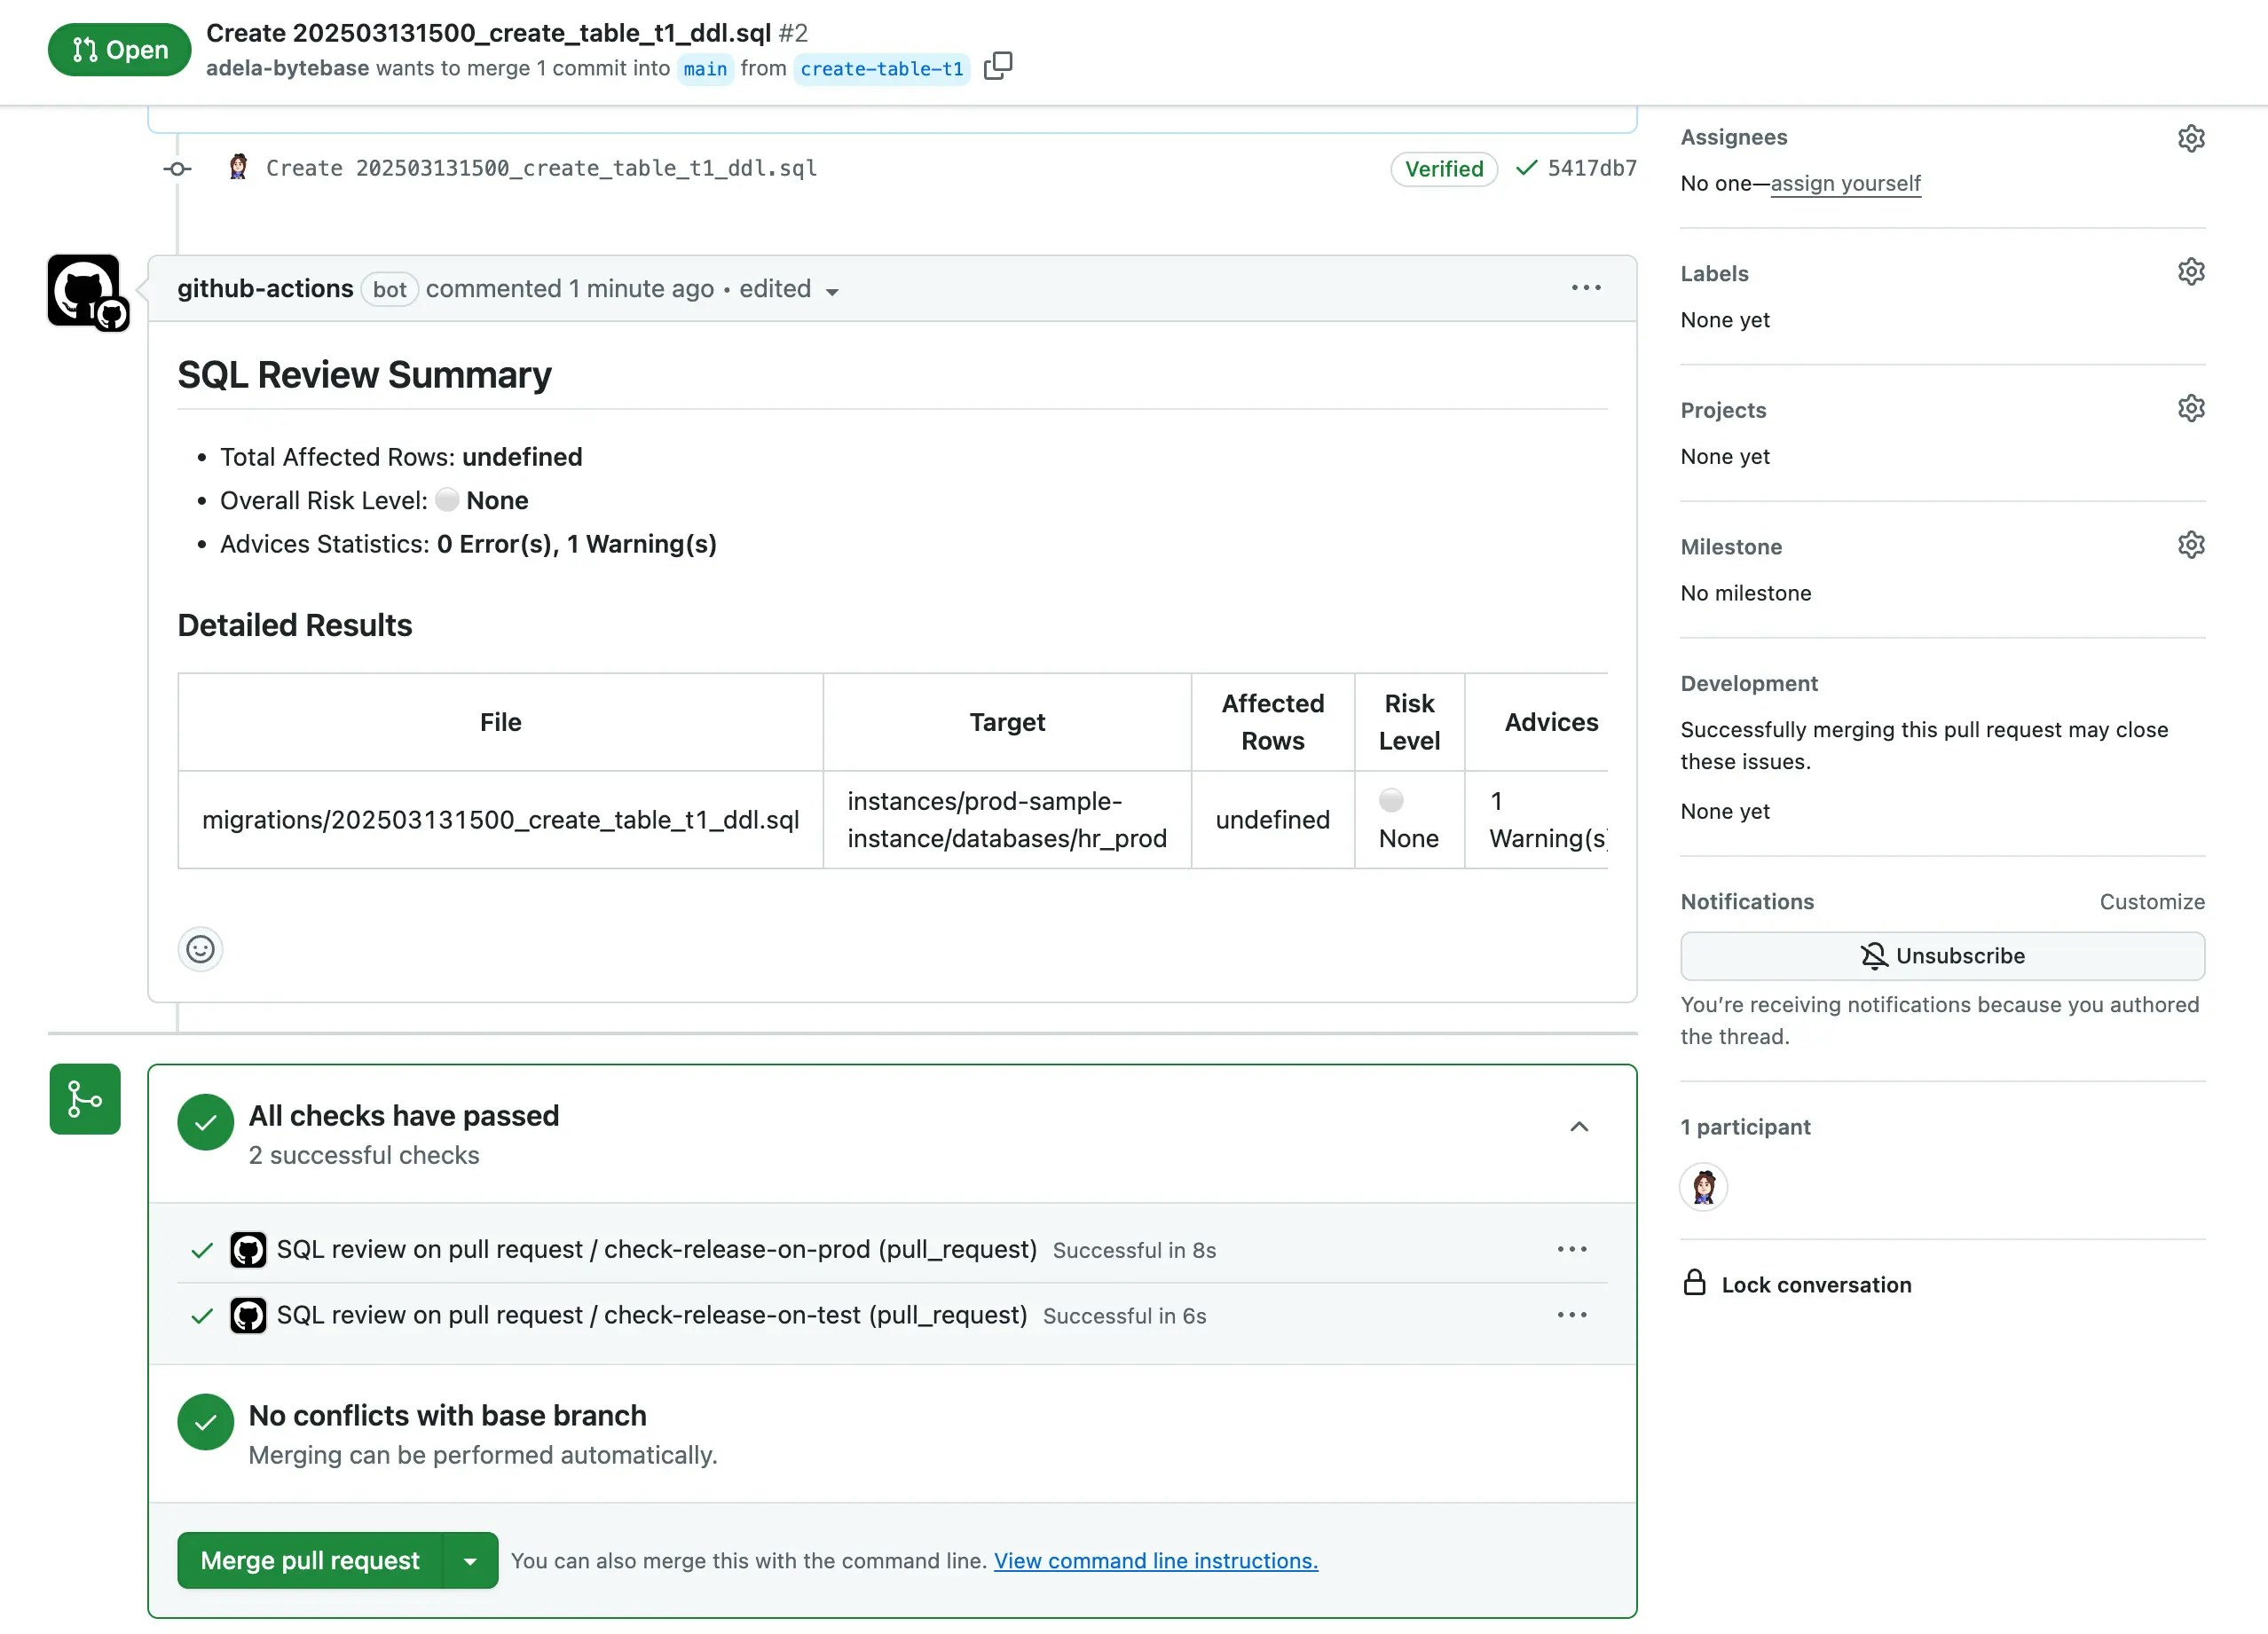
SQL review runs automatically
-
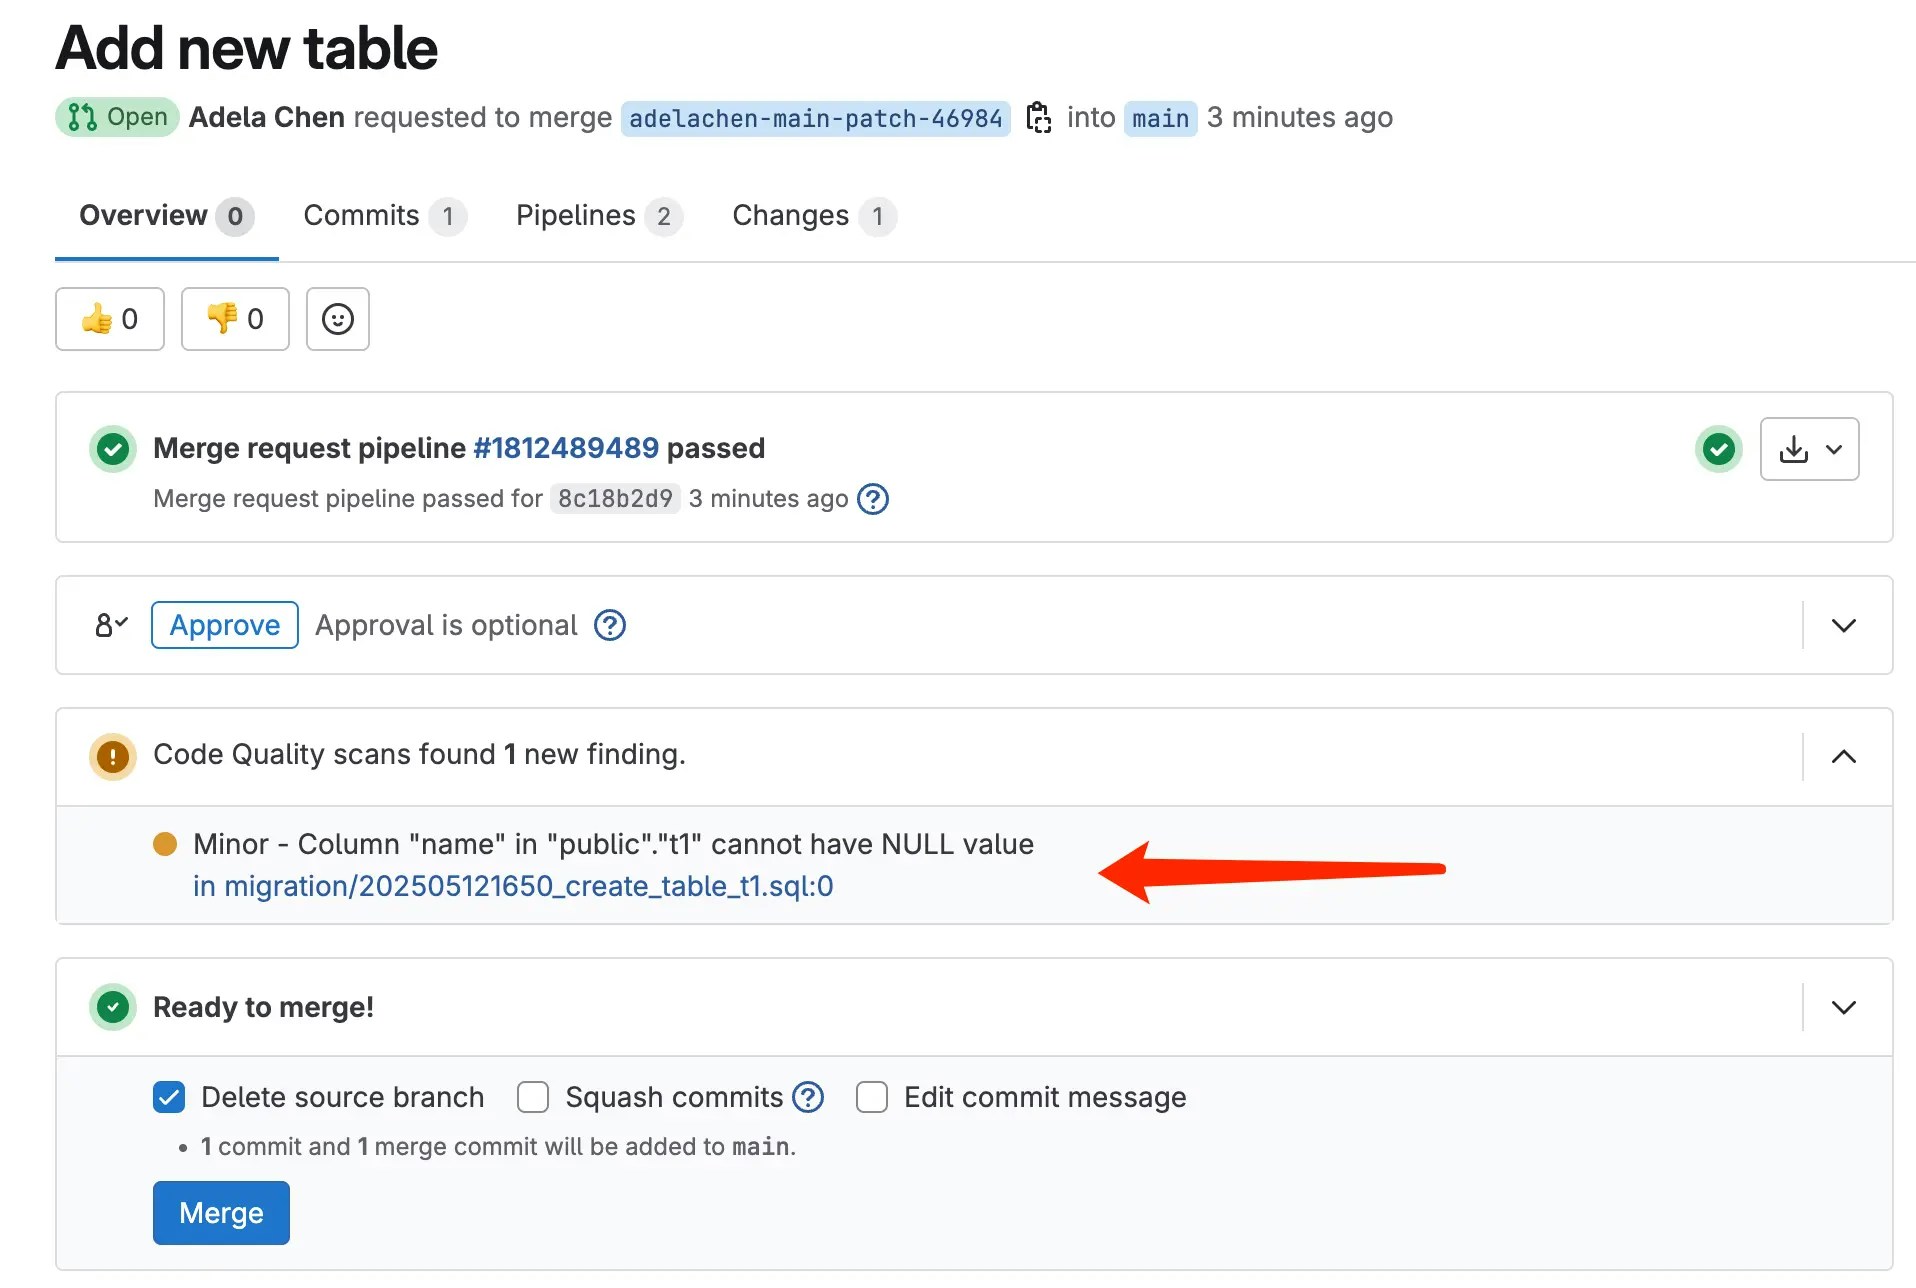
The SQL review workflow triggers and posts results back to your pull/merge request. You’ll see a warning because the
namecolumn allows NULL.- GitHub
- GitLab
-
Fix the SQL based on the review feedback — add
NOT NULLto thenamecolumn:Push the fix. The review re-runs and passes.
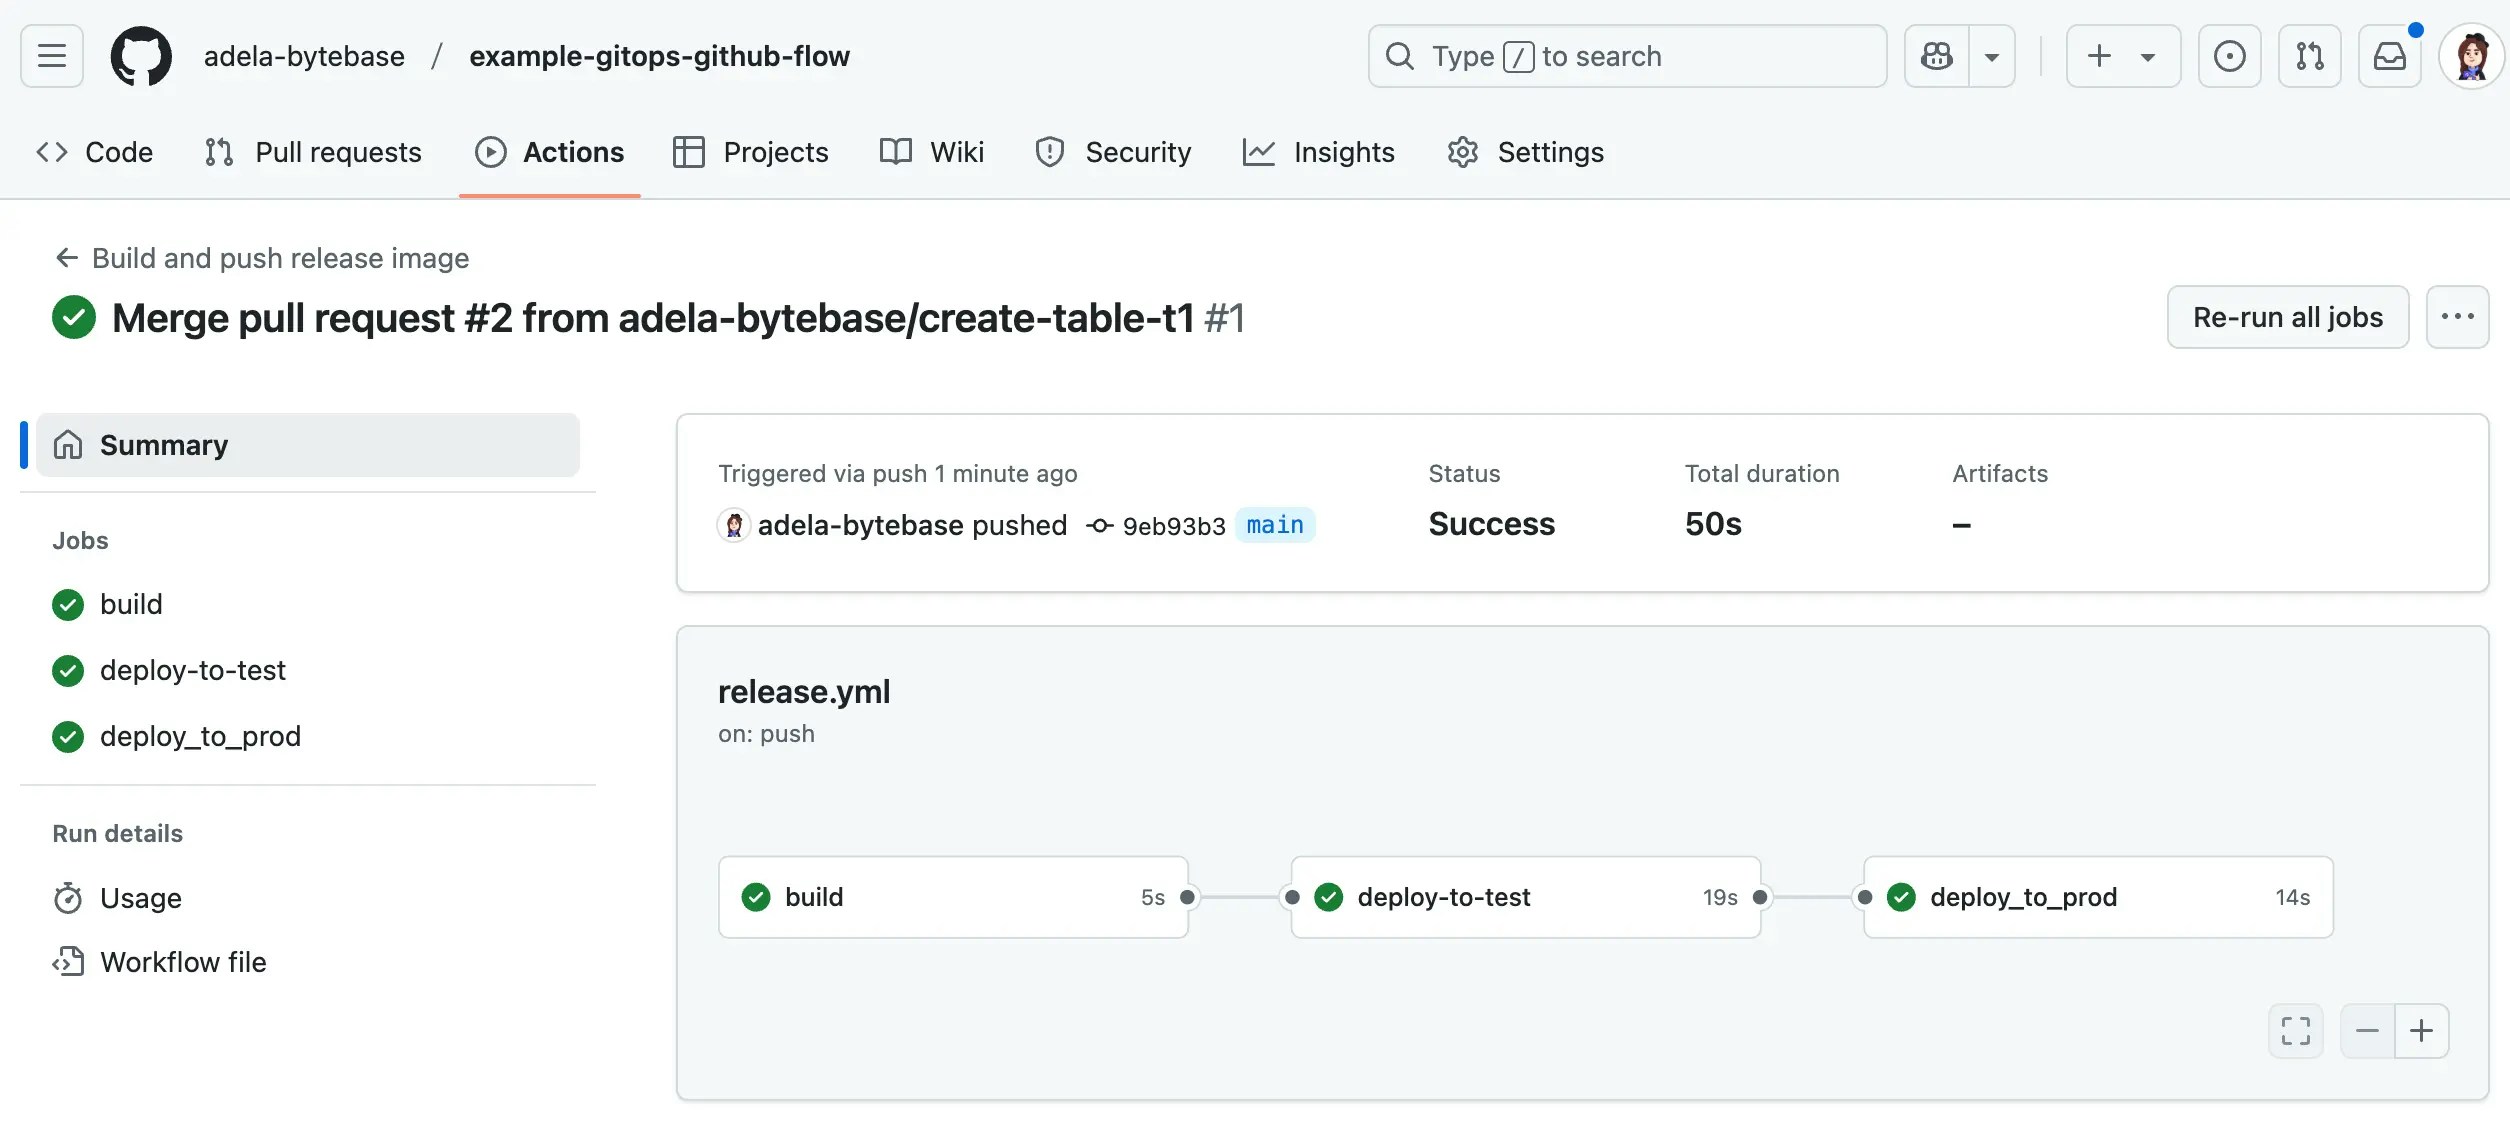
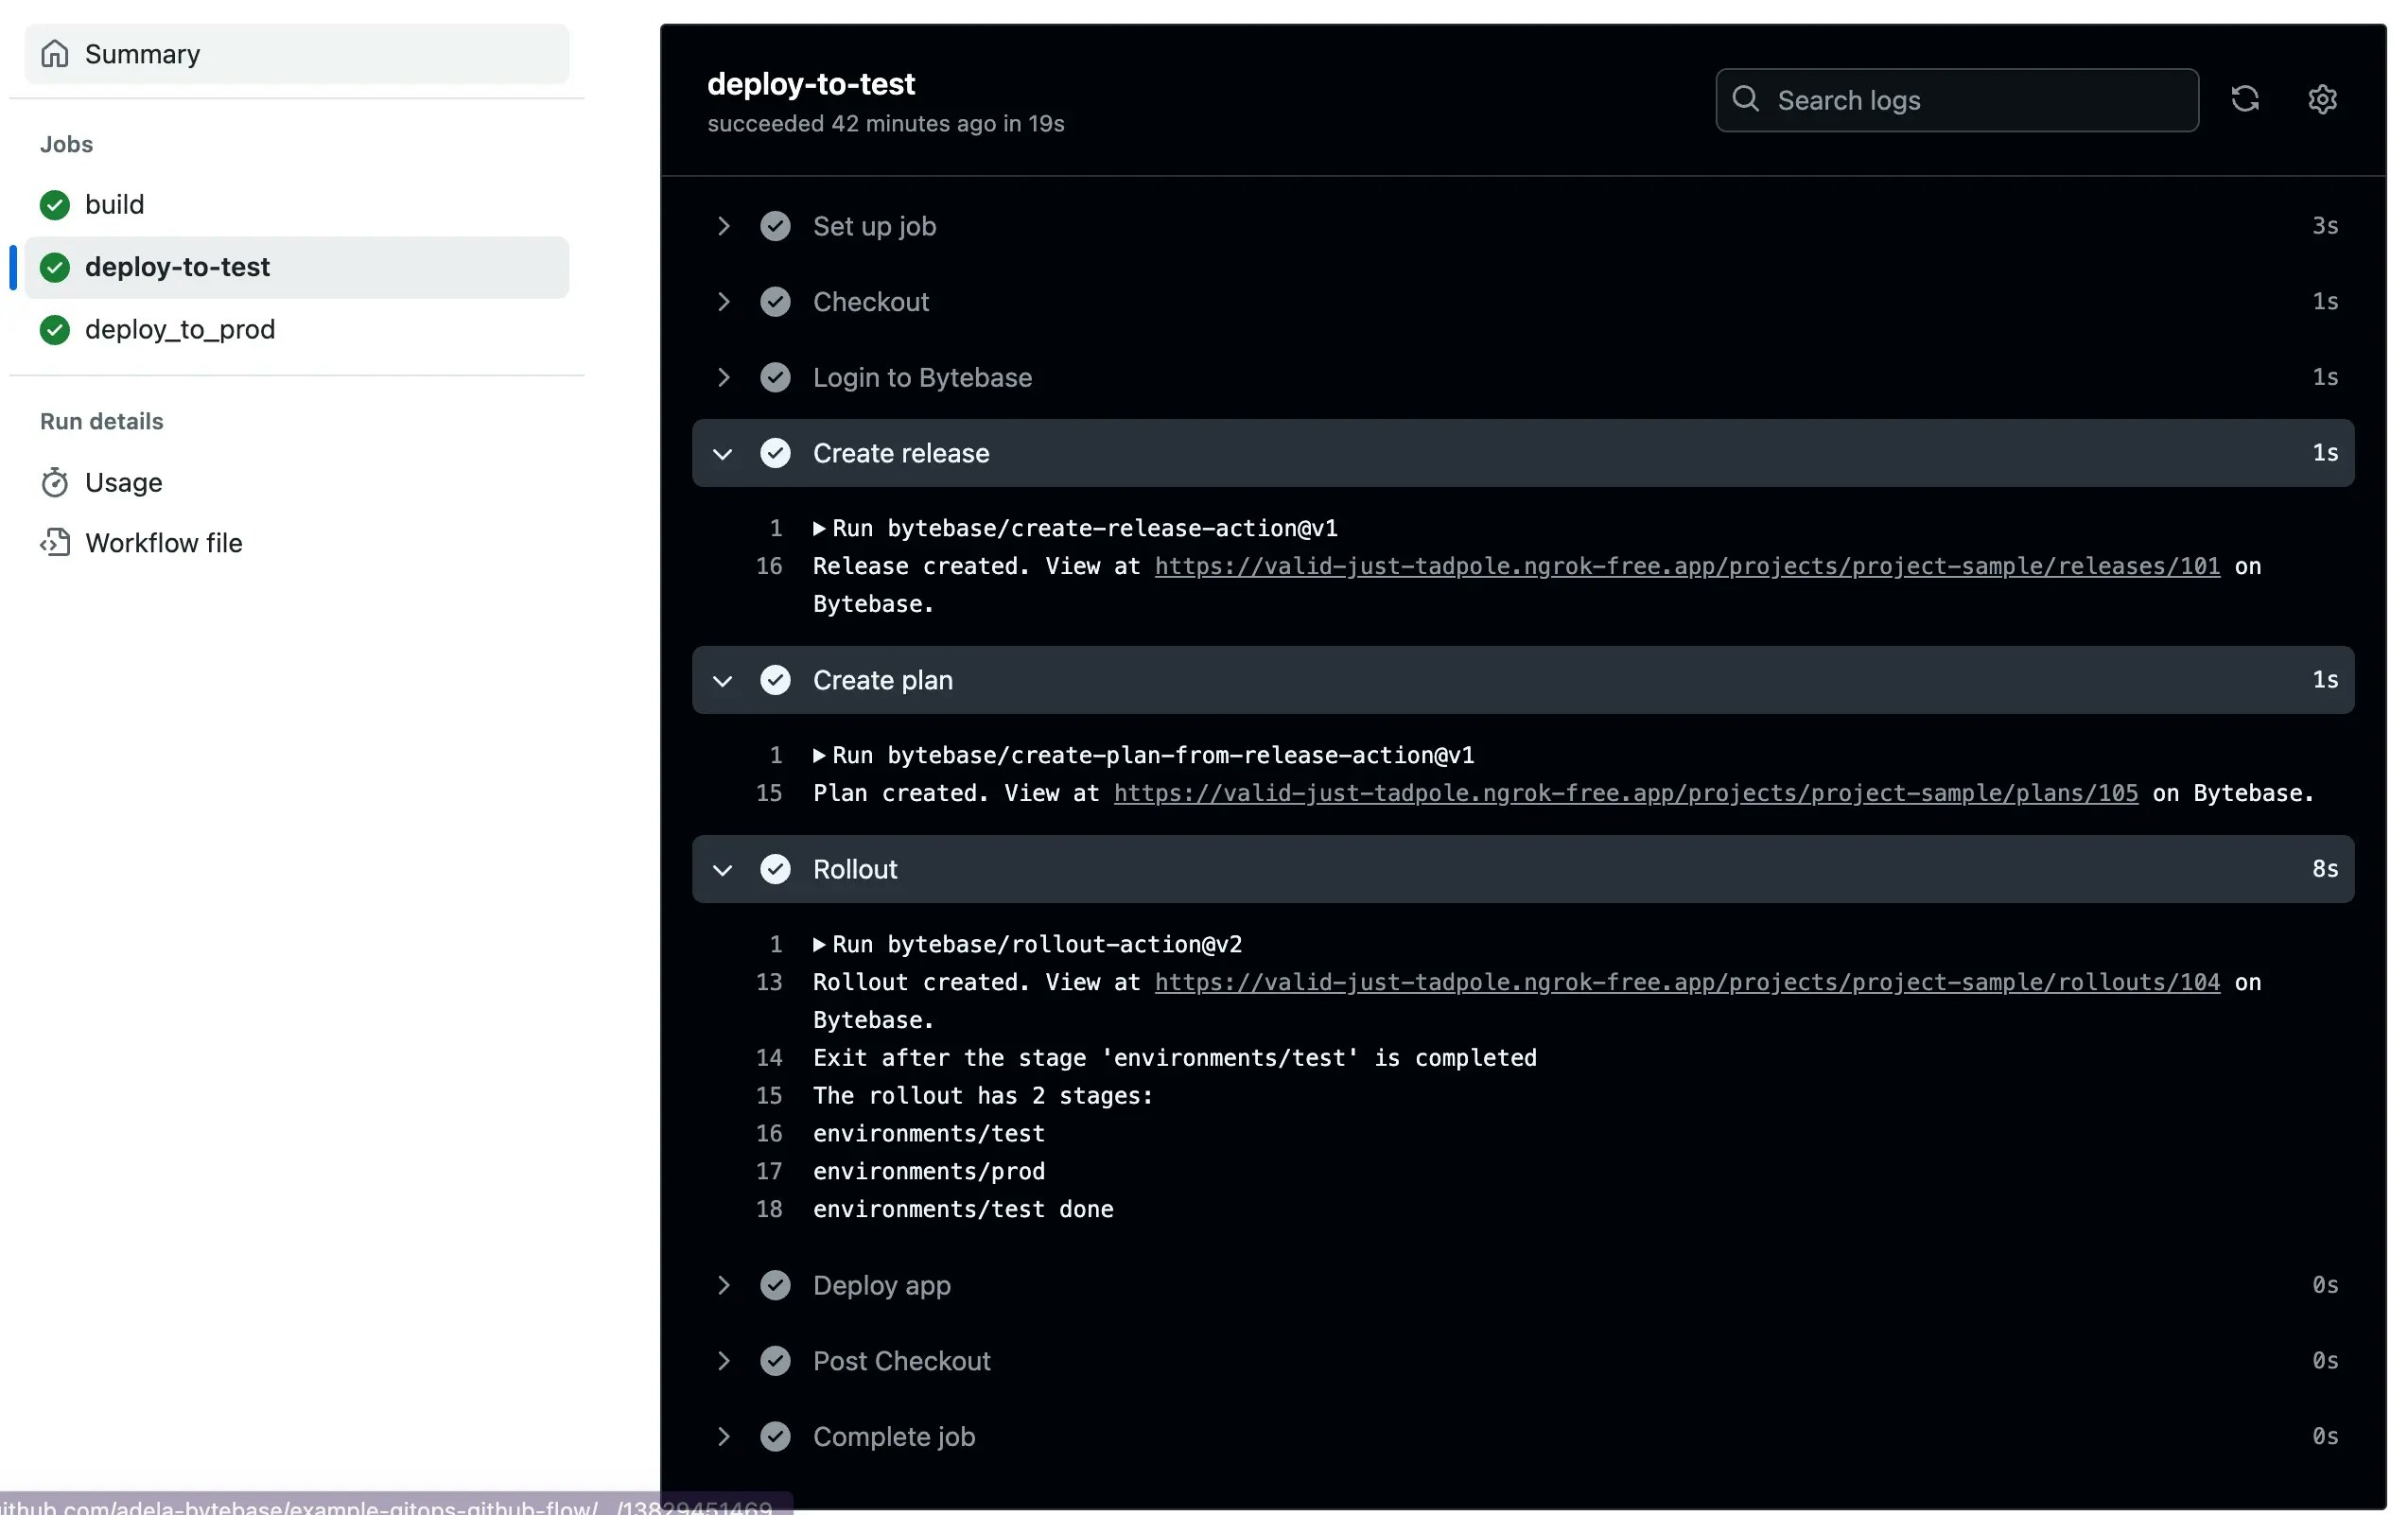
Merge triggers deployment
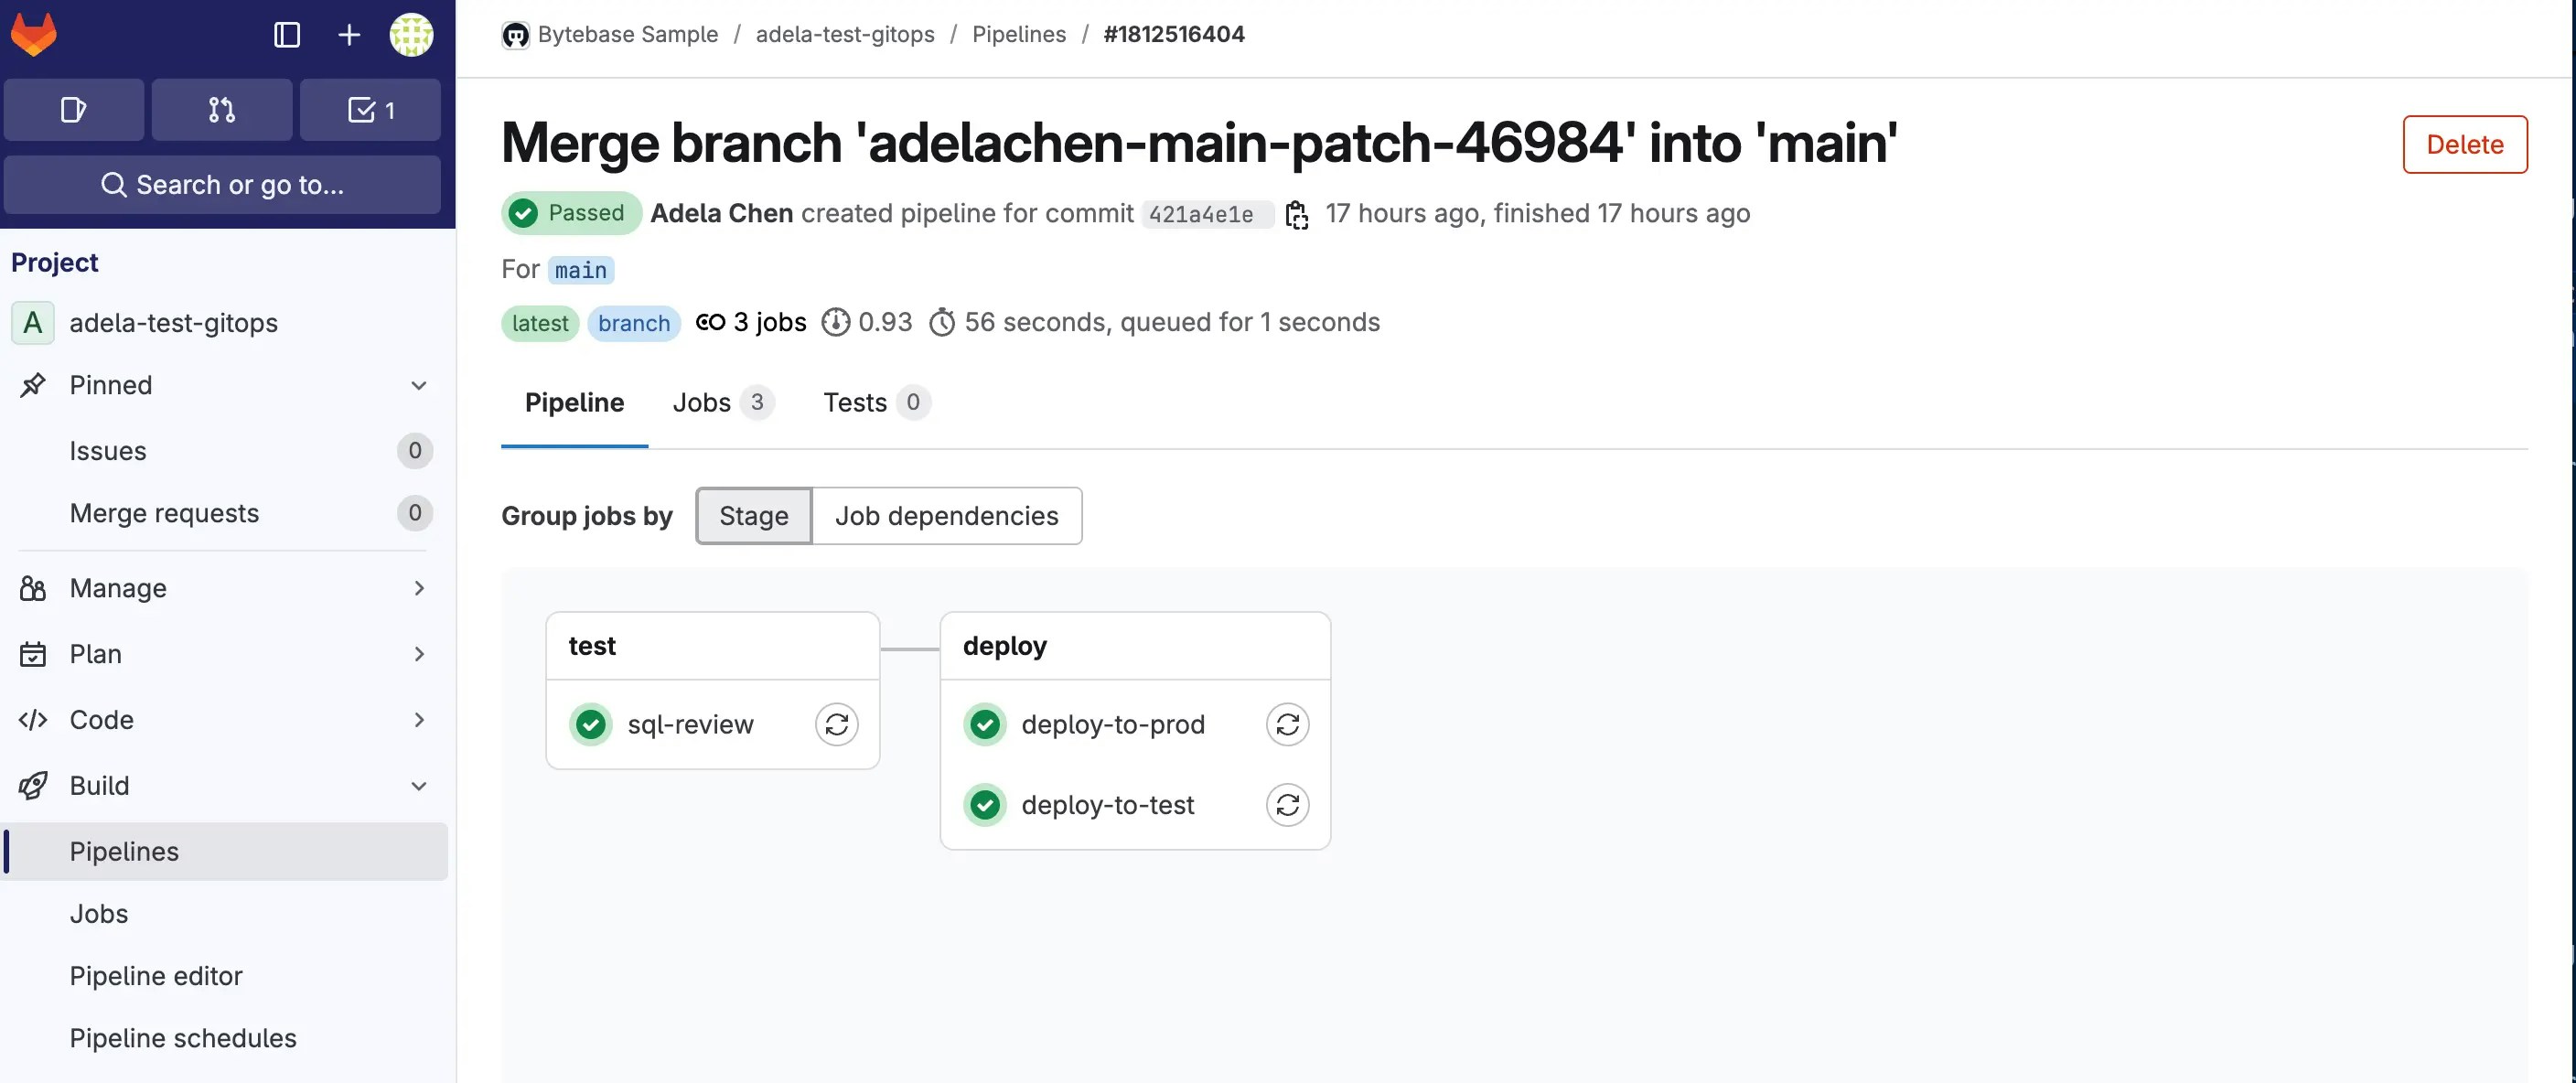
- Once SQL review passes, merge the pull/merge request. The release workflow triggers automatically — it creates a Bytebase release and rolls out the changes to your target databases.
-
Verify the deployment in your CI/CD pipeline:
- GitHub
- GitLab
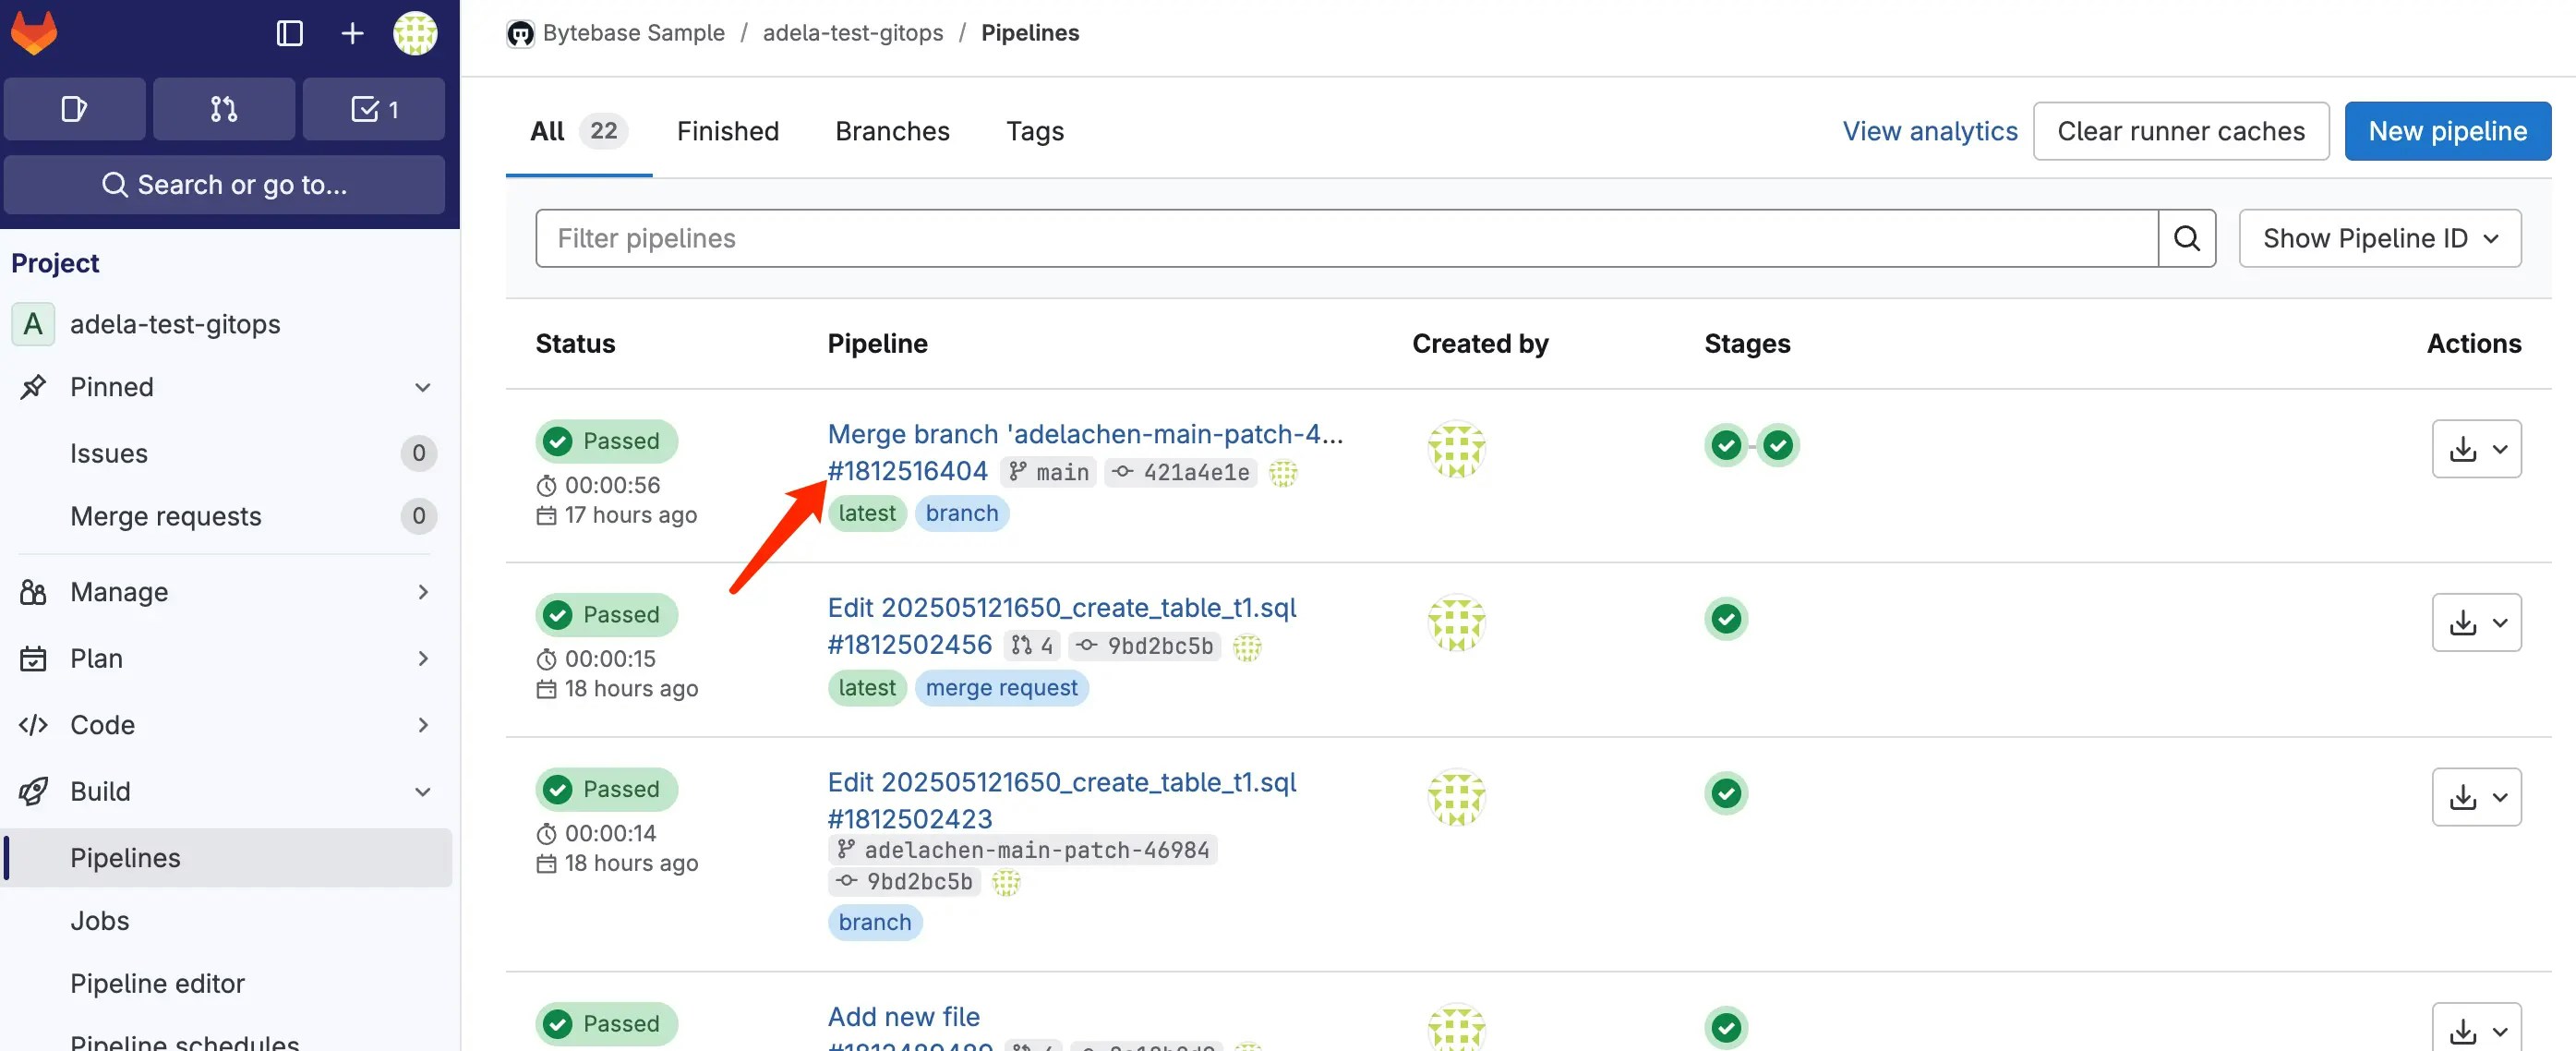
Go to the Actions tab. You’ll see the release workflow triggered by the merge.
Next Steps
Migration-Based Workflow
Incremental migration scripts
State-Based Workflow
Declarative schema management
SQL Review Policy
Configure review rules
Tutorials
Full walkthrough with manual rollout and ChatOps